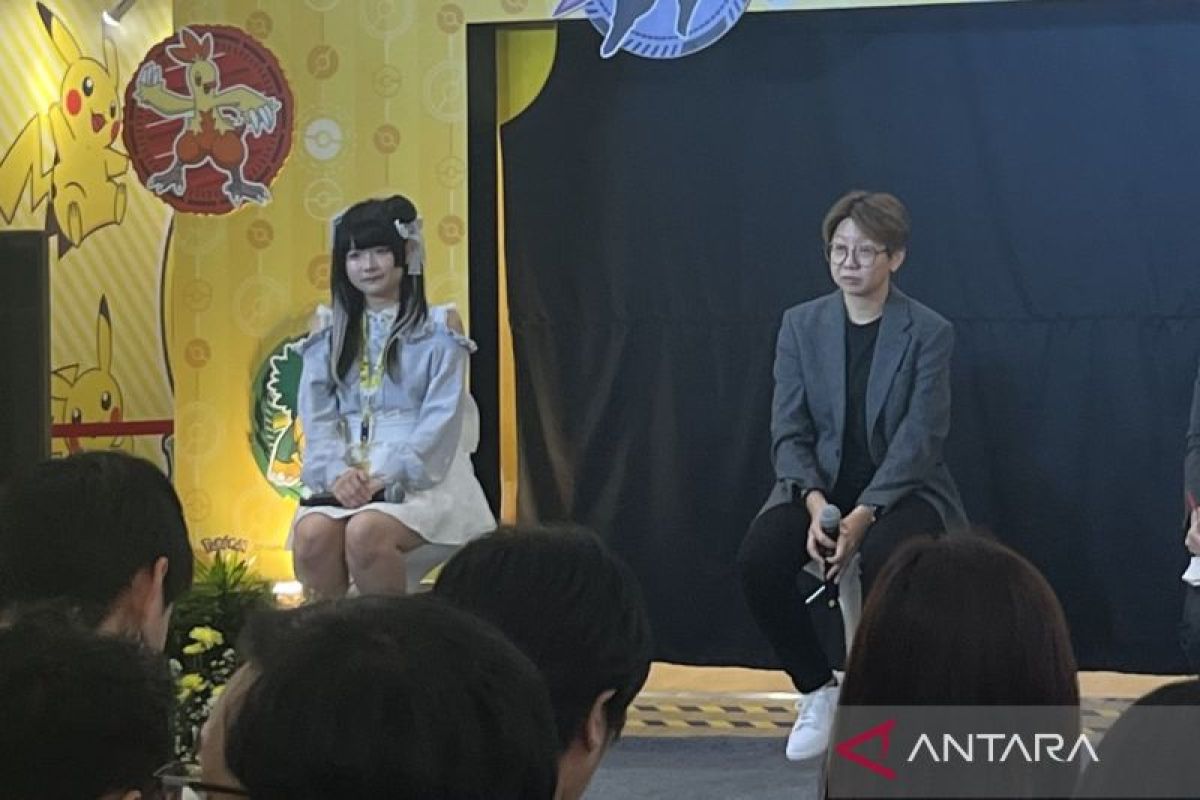
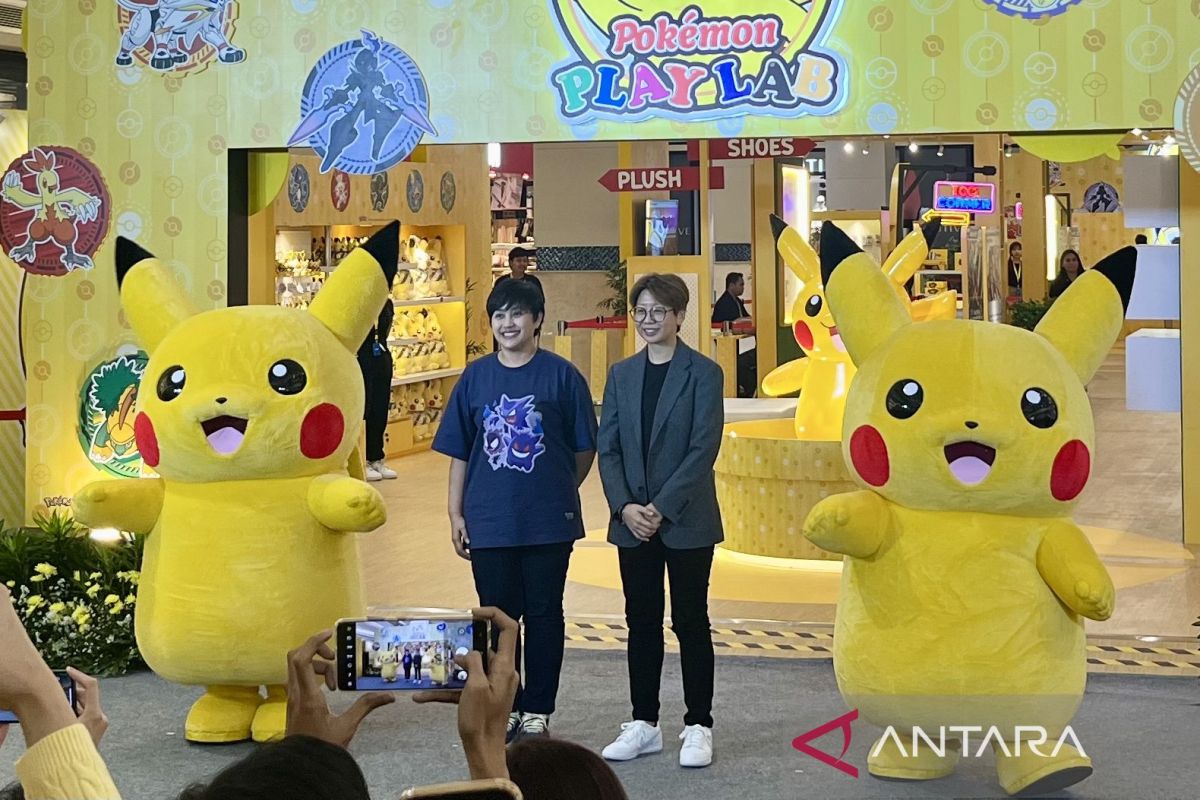
Trail Camera Buyers Guide: Great For Taking Photos And Videos Outdoors

Introduction

When it comes to choosing a trail camera, there are a few things you need to keep in mind. Check out Trail Camera Buyers Guide to choose the right trail camera of your need. What are you using the camera for? What environment will you be using it in? How long do you need the battery to last? And, of course, what’s your budget?

Let’s start with the first question – what are you using the camera for? If you’re just looking to snap some photos of wildlife, then you don’t need anything too fancy. But if you’re looking to capture videos or use the camera for security purposes, then you’ll need something more powerful.

Trail Camera Buyers Guide

Next, think about the environment you’ll be using the camera in. If you’re planning on using it in a forest, then you’ll need a camera that can handle low-light conditions. But if you’re using it in an open field, then you won’t need anything too special.

The battery life of the camera is also an important consideration. If you’re going to be using it in a remote location, then you’ll need a camera that has a long battery life. Otherwise, you’ll be constantly changing batteries, which can be a pain.

Finally, think about your budget. Trail cameras can range in price from a few hundred dollars to a few thousand. So, you’ll need to decide how much you’re willing to spend on one.

Taking all of these factors into consideration will help you choose the right trail camera for your needs.

How To Properly Set Up And Maintain Your Trail Camera

If you’re looking to capture some great photos and videos of wildlife in their natural habitat, then you need to make sure your trail camera is properly set up and maintained. Here are some tips to help you get the most out of your trail camera:

  • Choose the right location: Look for an area where deer are known to travel and where you will be able to get a clear view of the camera’s field of view. Avoid areas where there is lots of human activity, as this will scare away the deer.
  • Set up the camera: Mount the camera at the correct height (between 2.5 and 5 feet off the ground) and angle (between 30 and 45 degrees) so that it has a clear view of the area you want to monitor. Be sure to camouflage the camera to blend in with its surroundings.
  • Check the camera regularly: Check the camera’s batteries and memory card frequently to make sure it is working properly. When downloading pictures from the camera, be sure to delete any that you do not need to conserve space on the memory card.

By following these simple tips, you can be sure that your trail camera is properly set up and ready to capture some great shots of wildlife in its natural habitat.

Trail Camera Buyers Guide

How To Get The Most Out Of Your Trail Camera By Using It Effectively

If you love spending time outdoors, a trail camera can be a great way to get up close and personal with wildlife. But if you’ve never used one before, you might not know how to get the most out of it. Here are some tips to help you get started:

  1. Place your camera in an area where there is a lot of deer traffic. This will give you the best chance of getting photos of deer.
  2. If you are trying to get photos of a specific deer, place your camera in an area where you have seen the deer before.
  3. Try to place your camera at a height of about 3 feet. This will give you a good view of the area without being too obvious.
  4. Make sure your camera is pointing in the direction you want it to. You don’t want to miss any good photos because your camera was pointing in the wrong direction.
  5. Check your camera regularly to make sure it is working properly and to see if you have any good photos.

Following these tips will help you get the most out of your trail camera. So get out there and start exploring!

Trail Camera Buyers Guide

Leave a Comment